The bathroom is SO CLOSE to being awesome (well, at least compared to it's former tragic self). Let's take a gander at our to-do list...
Bathroom Reno
(in no particular order):
gut entire room, including floor- take salvageable fixtures to Habitat for Humanity Restore
buy new hot water tank, relocate to basementsister existing joistslay new sub floorframe out new wallsre-route all plumbing, using pexbuy floor tile, tile floorbuy tub, installbuy tub alcove tile, tile alcovebuy tub/shower trim kit, installbuild/buy vanity, installbuy sink faucet fixture, installbuy mirror, hanghang drywallmud drywallbuy exhaust fan, installbuy toilet, install- make new baseboards, paint and install
- strip and repaint original casings and trim, install
- replace windows
- find a stained glass window for the little window
buy stacking washer and dryer, hook up- sand and repaint original door, hang
- put original hardware back on
pick a paint colour,paintpick an over head light fixture, installpick vanity light fixtures, install
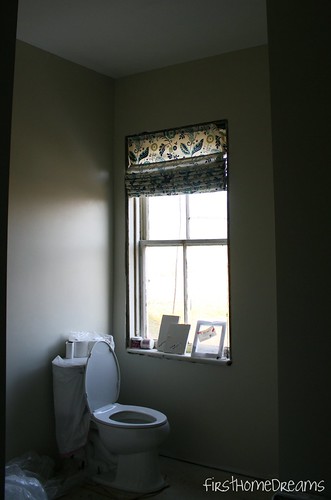
I ended up doing two coats of primer over the drywall. The guy who did our mudding recommended two coats because the texture of the drywall we bought was really rough (we used 1/2" moisture and mold resistant stuff, for anybody wondering), and the difference between it and the texture of the mud was significant. The colour I chose for the walls is "Vintage" from Sarah Richardson's Designer Palette by Para Paints. It's a wonderful greyish yellow and I am in love love love with it. The ceiling colour is Whitewash White from Para's Heritage Collection. I'll be using the same white on the trim (once we get to it!). This was my first time using Para Paint and I was really happy with how it went on - I'll definitely be using it again (added bonus: their kitchen and bath paint that I used for the bathroom is low-ish VOC at 144 gm/l; I'm not sure about their other formulas).
I spent a total of four evenings painting. Prior to starting, I decided to shell out some extra cash for a couple of items, and I think it made a huge difference to how headache free painting went.
- Shur-Line Easy Release Frame - absolutely worth the extra $3! So easy to get the roller off without making a colossal mess, and "roller walk" was essentially a non-issue.
- A wooden pole with metal adapter - I almost always snap the flimsier plastic ones because I press way too hard onto the surface that I'm painting. This one held up!
- Purdy Clearcut paintbrush (2.5") - I am the worst cutter inner ever, but this paint brush was amazing to load and handle, and it lost a total of one bristle the whole time.
This weekend we're going to get all of the light fixtures, switches, and outlets installed. After that, my priority is getting the laundry hooked back up - which means we'll have to tile the floor in the laundry "closet" before the rest of the floor. Or we could just hook them up and then move them again when we need to do the floor underneath them, but that sounds like a lot of unnecessary effort. It's not likely to happen this weekend, but maybe next week some time?
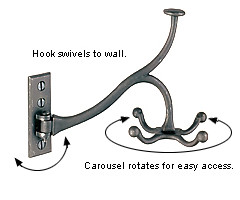
Until next time...here's a "sneak peak" of some the smaller items that are going to make their way into the bathroom.
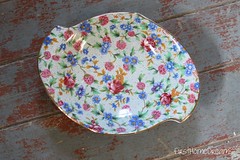 | 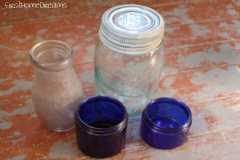 |
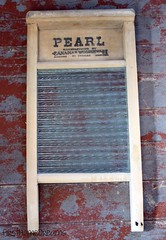 | 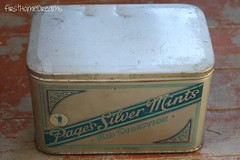 |
 |
Happy weekend, everybody!
Wait! There's more! I was not contacted by or compensated by any of the companies mentioned in this post. I'm honestly just really pleased with their products!

No comments:
Post a Comment
Waaaaaait! If you're reading this, it means you're viewing First Home Dreams from a mobile device. If you comment here, it won't show up on the regular site. Click "View web version" (below) and comment from there with Intense Debate.
Thanks!