How to Make a Christmas Wreath from Toilet Paper
This is the cheapest wreath you will ever make!
What you need:
Toilet paper
Glue gun
Foam pipe insulation (or other wreath form)
Ribbon
Heavy duty tape
Thumb tack
What you need to do:
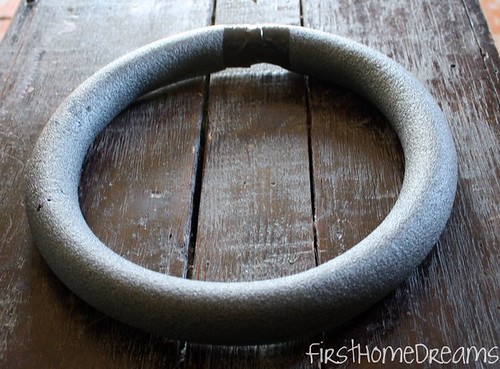
1. With your piece of foam pipe insulation, create a circle, taping the ends together to hold. I used electrical tape, but duct tape would also work well.
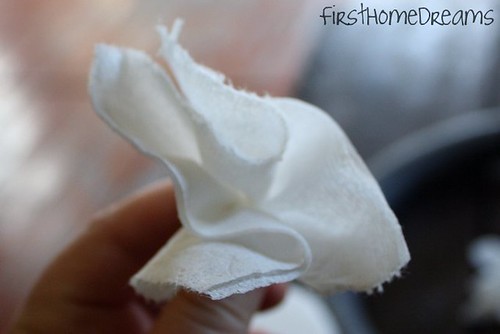
2. Tear off individual squares of toilet paper, relatively carefully (unless you want an even shabbier look). Fold, squish, twist or whatever else you need to do to get a shape resembling some sort of flower.
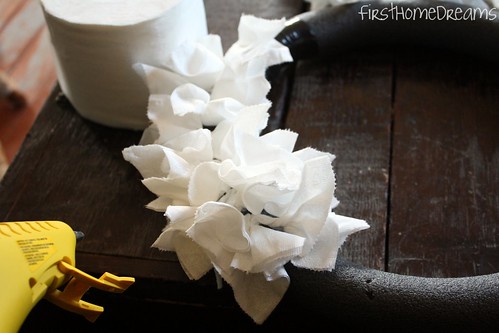
3. With your glue gun, apply a small amount to the end of your toilet paper "flower", and stick it to your wreath form. Be careful! If your glue is too hot, you will melt the foam and make a big hole. I have a feeling my glue gun is hotter than most, though (as evidenced by the huge blister I have on my palm - ouch). I applied them in an alternating fashion - one sticking out one way, the next sticking out the other way. When I had gone all the way around the wreath, I filled in any gaps with more "flowers".
4. While I gave the hot glue a chance to set up, I made my bow. I can never tie a bow flat, so I made one out of two seperate pieces of ribbon. First, each piece was folded into an awareness ribbon shape, and the point of contact was secured with a dab of hot glue. Then, I glued the two together.
5. Next, I looped a length of ribbon around the top of the wreath, and secured the ends together with another dab of hot glue. Before securing, I made sure that the loop was arranged in a way so that the wreath would lie flat against the wall (not pictured, sorry). I attached my bow to the ribbon loop with glue.
6. To hang my wreath, I used a decorative thumbtack that I had on hand. I stabbed the thumbtack through the center of the bow, and I think it finished the bow off nicely since it didn't really have a center. If you are planning on hanging your wreath somewhere other than a wall, you may want to use a button or something similar that doesn't have a pokey end sticking out the back.
7. Hang in the location of your choice! I chose to put it above the french doors in our living room.
I hope you liked this quick and easy tutorial!
Subscribe to:
Post Comments (Atom)
Blog Design by Nudge Media Design | Powered by Blogger


