I told you in my last post that we have a plan (again) on when to do our bathroom renovation. I can't even begin to tell you how excited I am - I've only been dreaming about this since we bought the house over a year ago. We've been super slow on this, I'll admit it. It took us 14 months just to be able to do laundry at home!
In all of my excitement, even though we haven't even begun to rip anything out, I've started accessorizing in my mind. And then in real life. I can't help myself.
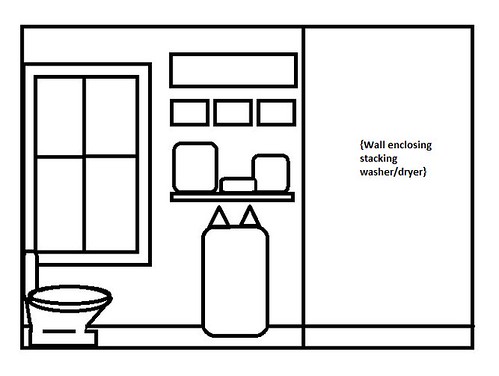
I've been focusing on the back wall, which is the wall you see head on when coming into the bathroom.
I have a vision, and since I can't find my handy pad of graph paper, I'm stuck using Paint and all of it's not-to-scale limitations.
The window on the left is 42" wide. The wall that we will be building to enclose the stacking washer and dryer into a closet of sorts will be 32-36" (we haven't decided on the orientation of plumbing and venting yet which will make a difference). The entire wall is approximately 8'8", leaving me with around 26" of space, assuming the laundry wall ends up being 36".
Focusing on that middle wall space, here's what's going on from bottom to top...
Laundry bag - I've already bought it (it was a total spur of the moment splurge on Etsy). It arrived yesterday and I love it to pieces! I'll show it to you later. I'm embarrassed to say how much I spent on a laundry bag so I'll just link to it. Click here if you want to know how crazy I am (this isn't the pattern I ordered!). I wanted a pretty hanging bag for a few reasons. 1) It's pretty. 2) I hate moving stuff around on the floor to clean. Dog hair gets stuck under everything and it's beyond irritating. 3) I wanted something smaller than a traditional hamper because no matter what, I let it fill up and then I'm stuck doing three + loads of laundry at once.
Shelf - 24", white. To hold laundry soap, dryer sheets, and some old-but-new-to-me accessories (more on those at some later date).
Three side by side frames - initially I wanted to do white frames, with scrapbook paper and some words stenciled on them, like Soap, Suds, Bubbles, or whatever. That's not really the direction I ended up going in. More on that in a second.
Long picture, print, quote, ? - I have no definite plans for this. I just know the general shape that I'm after! Whether a print goes here, or a painting, or some happy quote...we'll see.
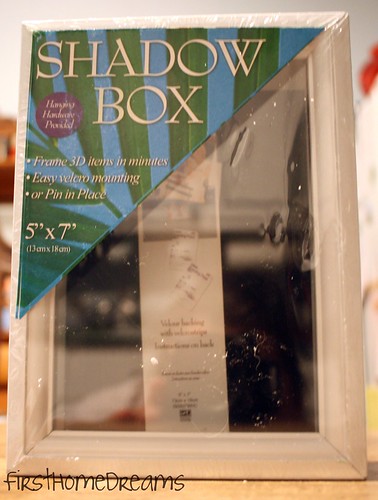
But now back to the three side by side frames. Like I said, I originally wanted white frames with something inside. I stuck with the white frame and scrape book paper idea, but instead went with shadow boxes.
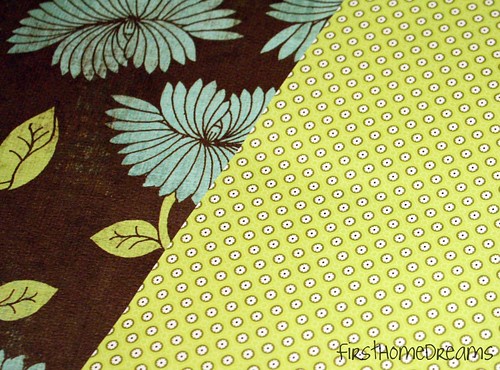
I was lucky that the day I went into Michael's was "Dollar Days" so I got three of these for half price. I spent way too long looking at scrapbook paper, but finally decided on these two.
I traced the backing of the shadow box onto the back side of the scrapbook paper, and cut it out to size. I used double sided tape (from our plastic over the windows days) to adhere the paper to the backing.
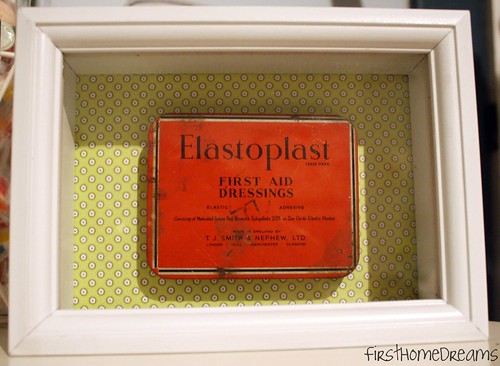
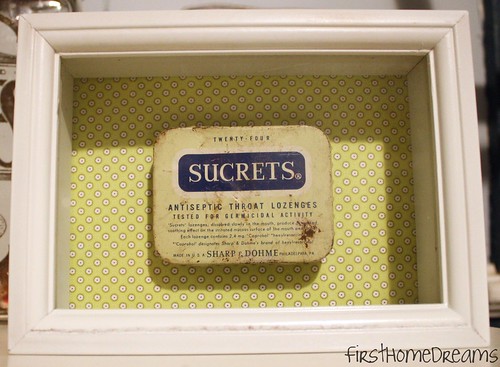
I have a thing for antique and vintage tins, more specifically medicinal type tins. My mom has a thing for kitchen tins, so I'm pretty sure I got this "thing" from her! Anyway, we have two tins that are perfect for the bathroom.
We were given the Elastoplast tin from Mike's mom, and the Sucrets tin we bought for $2 on our trip to the antique mall last weekend.
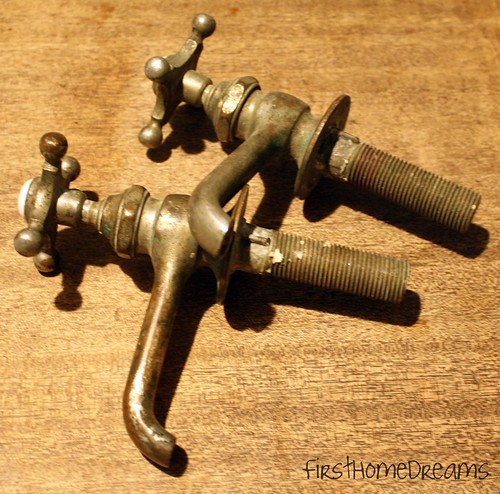
I don't have a third tin, so for the last shadow box, I have plans to use the handles from these antique faucets that I bought on eBay ages ago.
I had wanted to actually use them on our eventual bathroom sink, but once they arrived it was clear they were not in the shape I thought they were. Plus, finding a sink to fit them is harder than I thought it would be.
But I still love them, especially the cross handles with porcelain inset "hot" and "cold" designations. I saved the flower scrapbook paper for them because water = plants. Get it? (You can boo me, it's okay).
I just have to figure out how to get the handles off, without completely destroying the faucets (because they might be cool to use for a future potting table/sink?). I'll keep you posted...
I hope everyone has a fantastic weekend!
I linked this post to:
Addicted 2 Decorating - Addicts (not so) Anonymous Link Party I can't get her button to work!
Subscribe to:
Post Comments (Atom)
Blog Design by Nudge Media Design | Powered by Blogger

