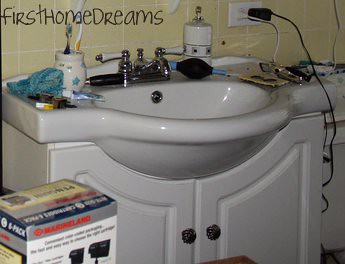
Please don't mind the clutter, this was when we were moving in the washing machine.
But the vanity? It's cheap looking, poorly made, and provides very little usable storage. We're happy to say goodbye to it.
I knew I didn't want a solid vanity (Mike doesn't care much as long as it's functional!), but everything that could be bought just seemed so expensive. And then I got an idea!
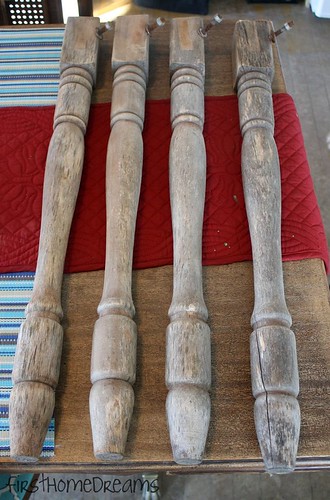
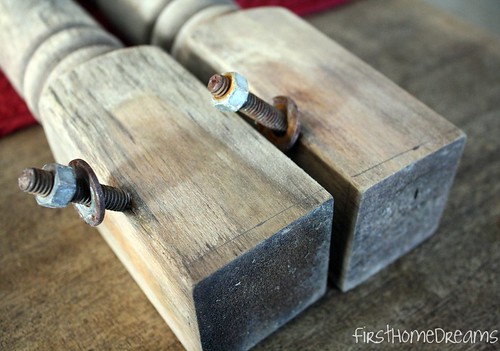
These turned table legs came from an old table sitting outside in the collapsed barn. The rest of the table was beyond saving, but I removed these and they're in pretty good shape beyond some cracks (which I don't mind). They've been sanded smooth, and will be given a coat of primer and paint.
The table legs alone aren't going to hold up the sink, so I have to make some additions (check this post for an idea of what the sink vanity will sorta look like, or a couple of pins on my Bathroom Ideas Pinterest board). But first I had to fix a little problem.
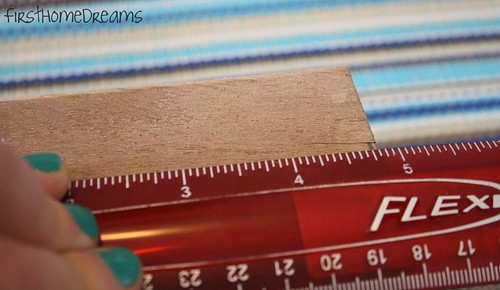
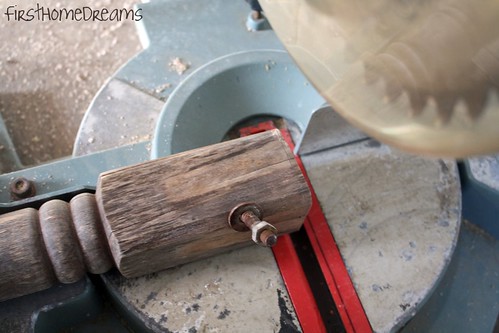
The ends were really not straight! So I measured...
And marked...
And cut!
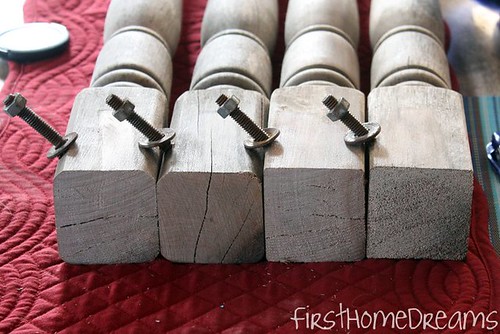
Repeat three more times, and I have four level legs.
Here's a quick look at what still needs to be done:
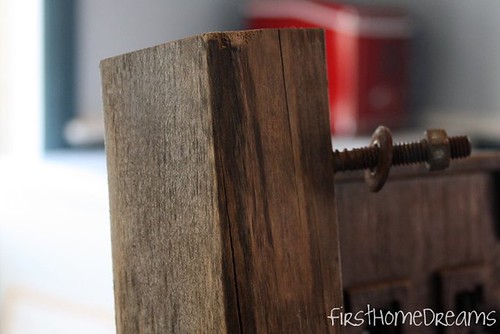
- remove bolts, unless I can use them to somehow add strength to the vanity
- add base for sink to rest on (at the same time adding height)
- add a (lower) shelf
- prime
- paint
- add something non-slip to the bottom of each leg

What a creative project; I love it. Good luck!
ReplyDeleteHey nice recycling idea. I actually have a Birch (oops almost wrote bitch) table with the exact same legs! The legs were cut purposely at an angle (because of the way the table is designed with the legs angled outwards). I'd suggest that you try to use be bolts along with the metal braces from the table (if you still have them). Generally, you would just need to cut your aprons (table skirt) with a saw cut in them to accept the lip on the metal brackets (trial and error to get the position just right).
ReplyDeleteThanks, Shasha!
ReplyDeleteJC - thanks for the tips for moving forward. I'm kind of at a stand still with it right now, but we'll see if I can make some progress this weekend.